Now I am convinced there is a better way and with inspiration from my favorite author Kim Barnouin whom wrote Skinny Bitch in the Kitch and co-wrote Skinny Bitch now has come out with a book Skinny Bitch: Home, Beauty, and Style which explains the chemicals in our homes and how to rid ourselves of them. This book is inspirational along with the environmental working group web site http://www.ewg.org/guides/cleaners/ I will rid my house of most toxins. I'm excited and hoping the recommendations for cleaning products work effectively. I will post what I use and I feel they work. Can't wait to get started!
Saturday, October 20, 2012
Chemical Free Lifestyle
Since I was young I have noticed that when I wear tight fitting clothes they itch my body, I thought I was allergic to jeans. In high school I wanted to write an essay about laundry detergent and fabric softeners but I couldn't find the ingredients to what was in them. I e-mailed and wrote letter to the wonderful people that produce these products and not one company would give the ingredients in the products. What the hell! When I started living on my own I would buy free and clear laundry detergent which eliminated the itching but still the ingredients weren't labeled on the huge jug of detergent. Over recent years I have used organic free and clear detergents but I always wondered what harmful ingredients lurk in our cleaning products that just about everyone keeps on hand. Is there a better way to clean our homes that doesn't wreck our families' respiratory systems. My oldest daughter was almost hospitalized at six months for pneumonia and had yearly bronchitis till she was five.
Friday, September 7, 2012
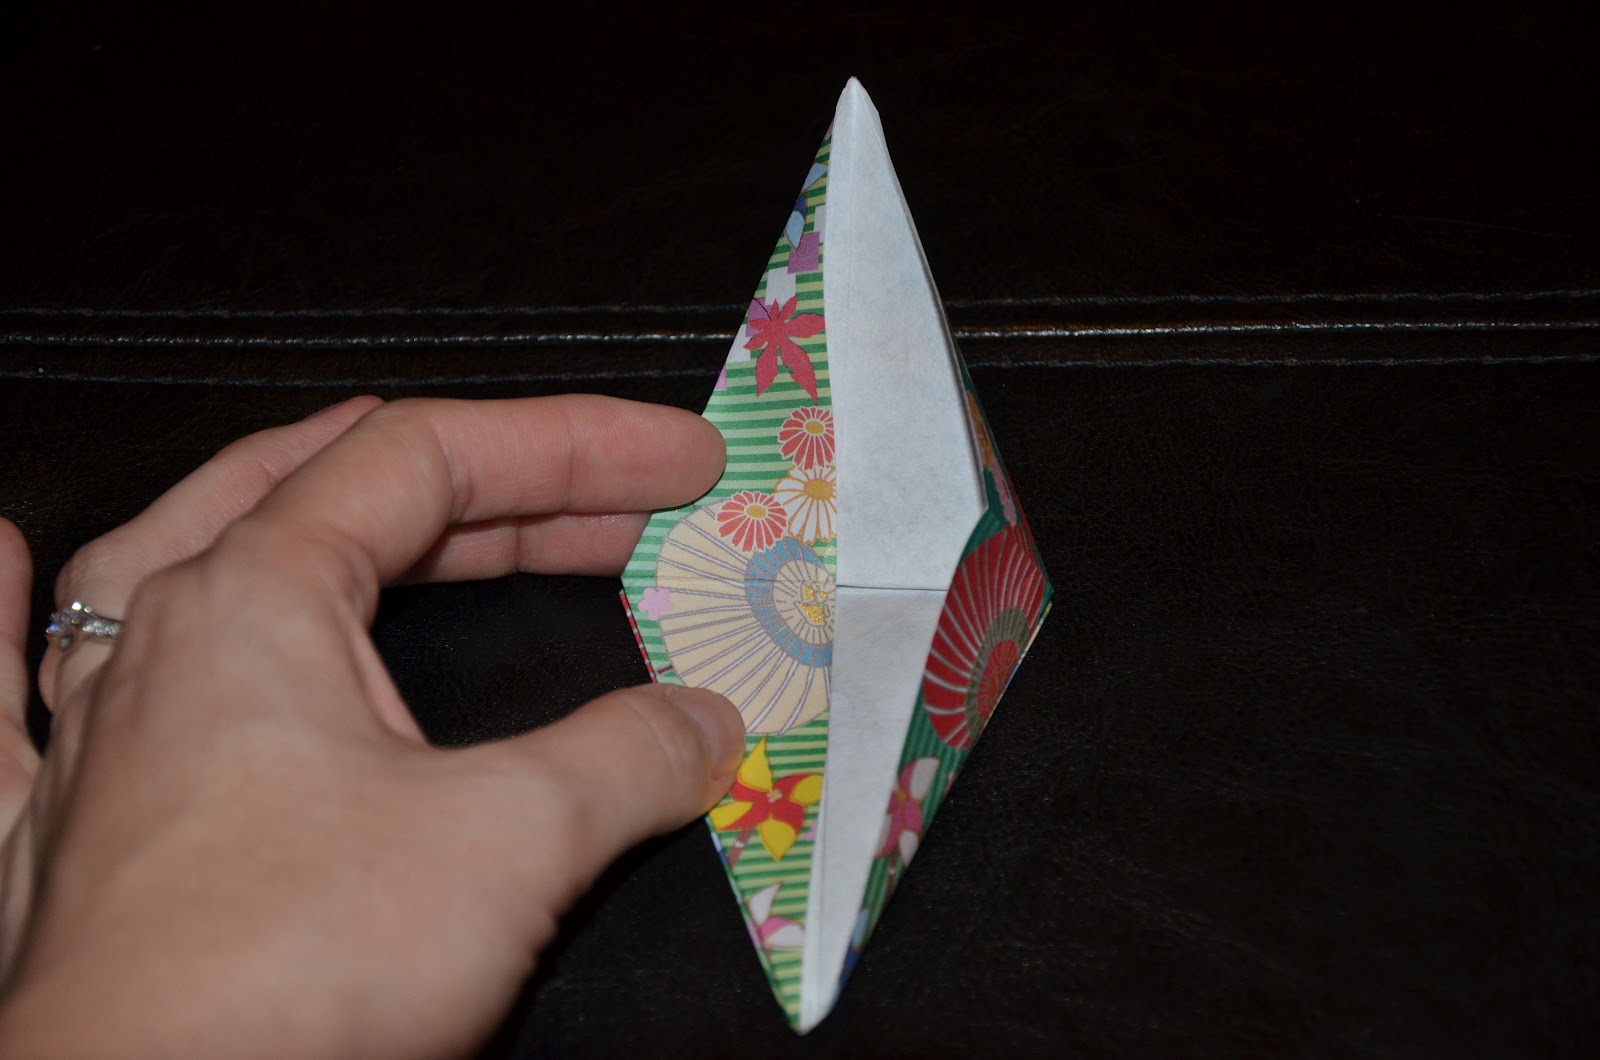
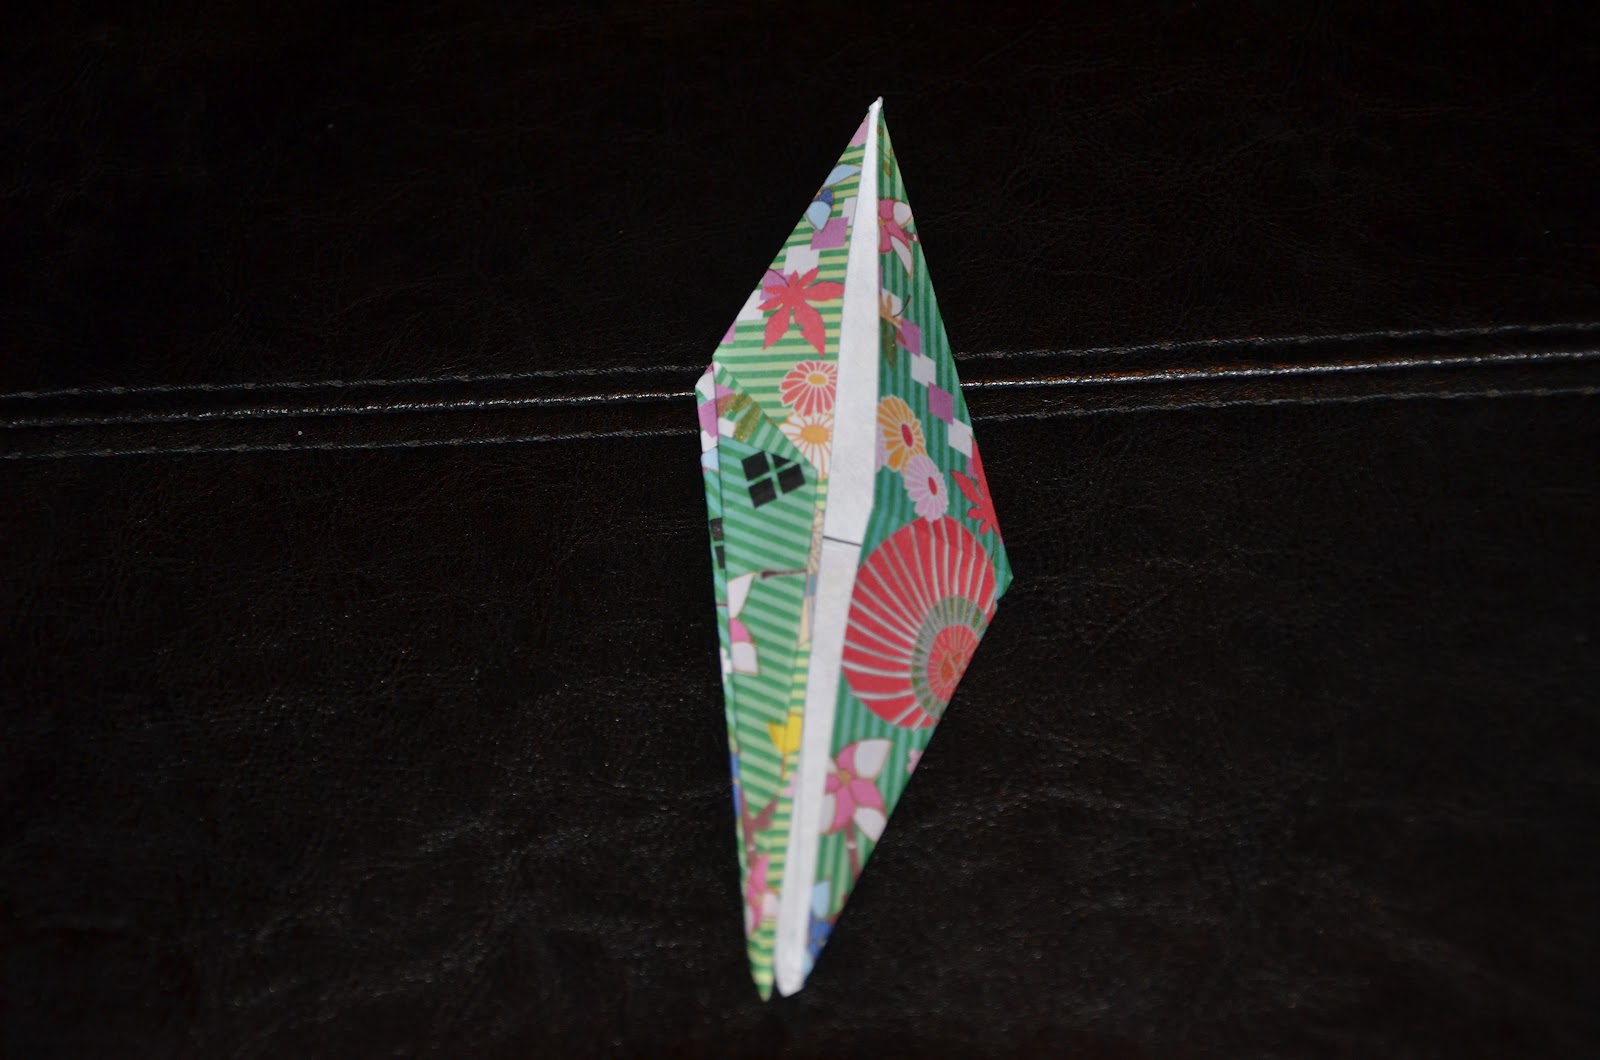
Octahedron Mobile
Octahedron Mobile

This is the second mobile in the Montessori Series
Materials:
-Printer
-Printer paper
-Super Glue
-Scissors
-Metallic Paper (found at Hobby Lobby)
-Gold
-Blue
-Red
-Wooden dowel (I bought a package of 15 dowels, size 3/16in x 12in)
-Fishing line
-Small beads (3)
-Large bead
-Ruler
-Pencil
How I made it:

First print the pattern to make an octahedron.
Cut out the pattern

Trace the pattern on to the back of the metallic paper

Take a ruler to draw the pattern onto the back of the metallic paper

Used sharp scissors to score the drawn pattern where there will be a fold

Cut out the drawn pattern from the metallic paper

Fold the paper
(Not pictured)
In order to attach the octahedron to the mobile you have to tie a bead to a long piece of fishing line and make sure you put the bead inside the shape and make sure you glue the bead inside the shape.
Finish gluing the rest of the shape together, making sure not to pull the string out

Once all is ends are glued your should have a hanging shape

Tie and glue fishing line to each end of the wooden dowel

Take a smaller loop of fishing line

Tie a knot in it
(You'll hang it from this piece)

Place a bead under the knot

Tie the other end to the string attached to the wooden dowel

Repeat with other colors of paper
Then tie and glue to the wooden dowel
I used a ruler to make sure the red and blue hung at the same height
I tied the red and blue shapes as close to the edges as I could then measured the center of the dowel for the gold shape.

I will update with pictures of my baby using this mobile when he's here.
Tuesday, August 21, 2012
Massager vs. Sensorial Toy
Spiky Sensorial Experience


I'm not sure if this is a child's toy or if it's just a hand held massager. I decided it's a sensorial toy that "Roonie" can use as a teether or to massage her chunky thighs. Usually I roll it over her arms and legs to see if she likes it. I'm unsure of how much she likes this toy, I hardly see her exploring with it. I'll keep you updated if she likes it at a different age.
I purchased this at a consignment store and it was labeled as "eco friendly toy", if you know what brand of toys may make this toy or if you've seen it at a store in the health area for massage. I would love to know if it is in fact a toy or not.
Skwish
The Skwish

This toy was recommended by my instructors.

This toy was recommended by my instructors.
I got this one on Amazon for only $14 as compared to some places where it was priced at $25. The first time "Roonie" saw this toy she smiled, It's extremely visually stimulating and if your baby falls on it the toys skwishes down so your baby is not hurt, or so you can easily fit it into your purse. "Roonie" likes to shake it, I think she likes the sound of the wooden beads moving across the wooden bars. Anyway she definitely will concentrate on this toy for about seven minutes.
Local Toy Store
Baby Bear

Another joy to this wonderful store is the staff, what a pleasure they are to talk to. Denise was on staff when I visited the store and she was a delight to talk to. She showed me tons of toys for my little "Roonie" and gave her a baby doll to play with while we shopped. She explained the history of the store and was helpful and wonderful to talk to. I think I was there for about an hour just talking. Denise also told me that they have the largest stock of cloth diapers in New Mexico. I'm not a cloth diaper type of person but it's nice to know for anyone whom is.
Monday, August 20, 2012
Crawling
Wooden Floor Tumbler

This toy helps to encourage crawling and also can be used as a rattle. Adinda uses it only as a rattle because she is older. My son will hopefully use it to help encourage crawling. This I also found at a children's consignment store.
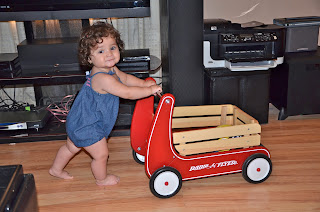
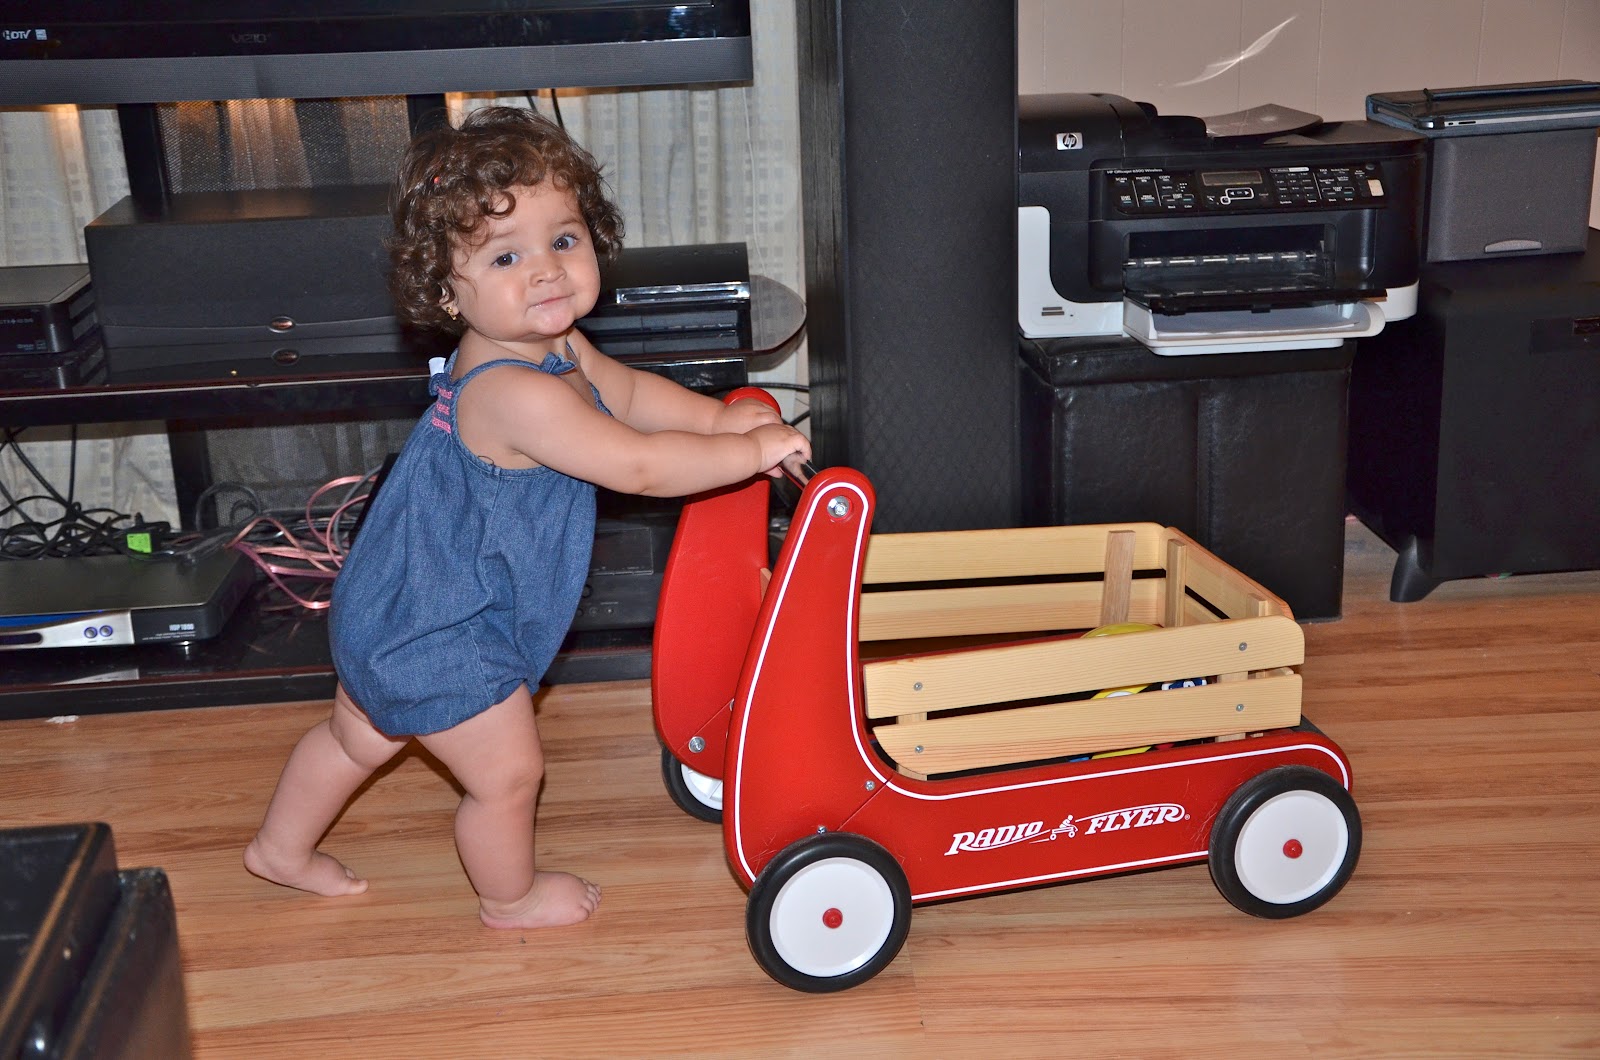
Walker
Radio Flyer Red Wagon Walker
We had this walker wagon in the model classroom where I took my Motessori training.


This walker wagon was a little tricky to construct but well worth it for all the use. Adinda has ridden in the wagon while her sisters push her and now she is walking with the wagon. What makes this wagon so perfect for beginning to walk is that it has a little it of resistance when you push it so it doesn't get away from the baby.


Massage
Massage

My body has been aching!
These moji massagers are saving my body.
I recommend these lovely things when you are too busy to make it for a massage. My fiancé ordered them a long time time ago to help with my middle of the night leg cramps.

The balls roll on your muscles giving you a deep tissue massage.
I use the long moji at the top for my back, shoulders and neck.
The small hand massager is easy for my legs and feet to help prevent swelling and leg cramps at night.
Lotions
Lotions

My favorite lotion during pregnancy is Eucerin, it has to be the tub not the pump. I have layered this thick lard like lotion on body where I feel stretch marks may occur. It has been successful for me, i have no stretch marks. Eucerin is a bit pricey but, a large tub will last your whole pregnancy and after. Sometimes i spread it on my baby's bottom to help get rid of diaper rash.
Field of Flowers is my favorite lotion. Any philosophy lotion makes me smell delicious and my skin is remarkably soft.
Sunday, August 19, 2012
Being Pregnant
Being Pregnant

It feels like I have been pregnant forever. I have a total of four children, even though only three are currently breathing on their own. I am caring for all four of them right now. The fourth keeps me up all night with acid indigestion and heart burn. He also controls a lot of what is happening to my body. It turns out that three months after I gave birth to my third child I became pregnant with my fourth. I am so excited because this time my baby is a boy. I have been blessed with four wonderful girls and felt a little left out of parenting a son.
For me pregnancy is hard, I don't enjoy it the way others do. Sickness, fatigue, anemia, swollen body parts and all are not my friends. I am currently thirty-five weeks pregnant and starting the discomfort, and wanting this baby out of body and in my arms. Most of my time is spent wondering what my son will look like and what his infant personality will be. Will he be one of the infants that come out sleeping through the night? I haven't had an infant that sleeps through the night. Will he be a crier? Will he be easy going? Hopefully whatever happens he will be handsome and happy. For some reason I picture him as a "mommies boy". This is purely for my happiness. No one really likes mommies boys, they are not the ones we choose to date. I try not to put too much pressure on my children with expectations but it's impossible for me not to wonder what he will contribute to my family.
I have decided that I will share some of the products that I enjoyed through my pregnancy. Most of them I swear by, but if something worked better for you please comment. We need more women publicly sharing what made pregnancy joyous for them. As a mother of four, I am still interested with what others enjoy during pregnancy.
Saturday, August 18, 2012
Music Box
Music Box


Fairy Mobiles
Fairy Mobiles


My girls love these hanging fairies.
I got these lovely decorations at a European toy store in Colorado. These are so beautiful I had to post them. The wings slide into a slot on the caterpillar and they come with color twisted string to hang from.
Sunday, August 12, 2012
Part of a Society
American Montessori Society

My official card!
It arrived in the mail two days ago and I am so excited.
Book Recommendation
Montessori From the Start
By: Paul Polk Lillard and Lynn Lillard Jenssen

This book is great for new parents and caregivers. It helps you understand the needs of infants and toddlers. It also gives you great ideas on how to introduce Montessori into your home. This book is amazing.
Saturday, August 4, 2012
Paper Crane Mobile
Paper Crane Mobile
The paper crane mobile is a wonderful gift I have given as a thank you gift and for baby showers. This is a mini version to help inspire your own paper crane mobiles.
Materials:
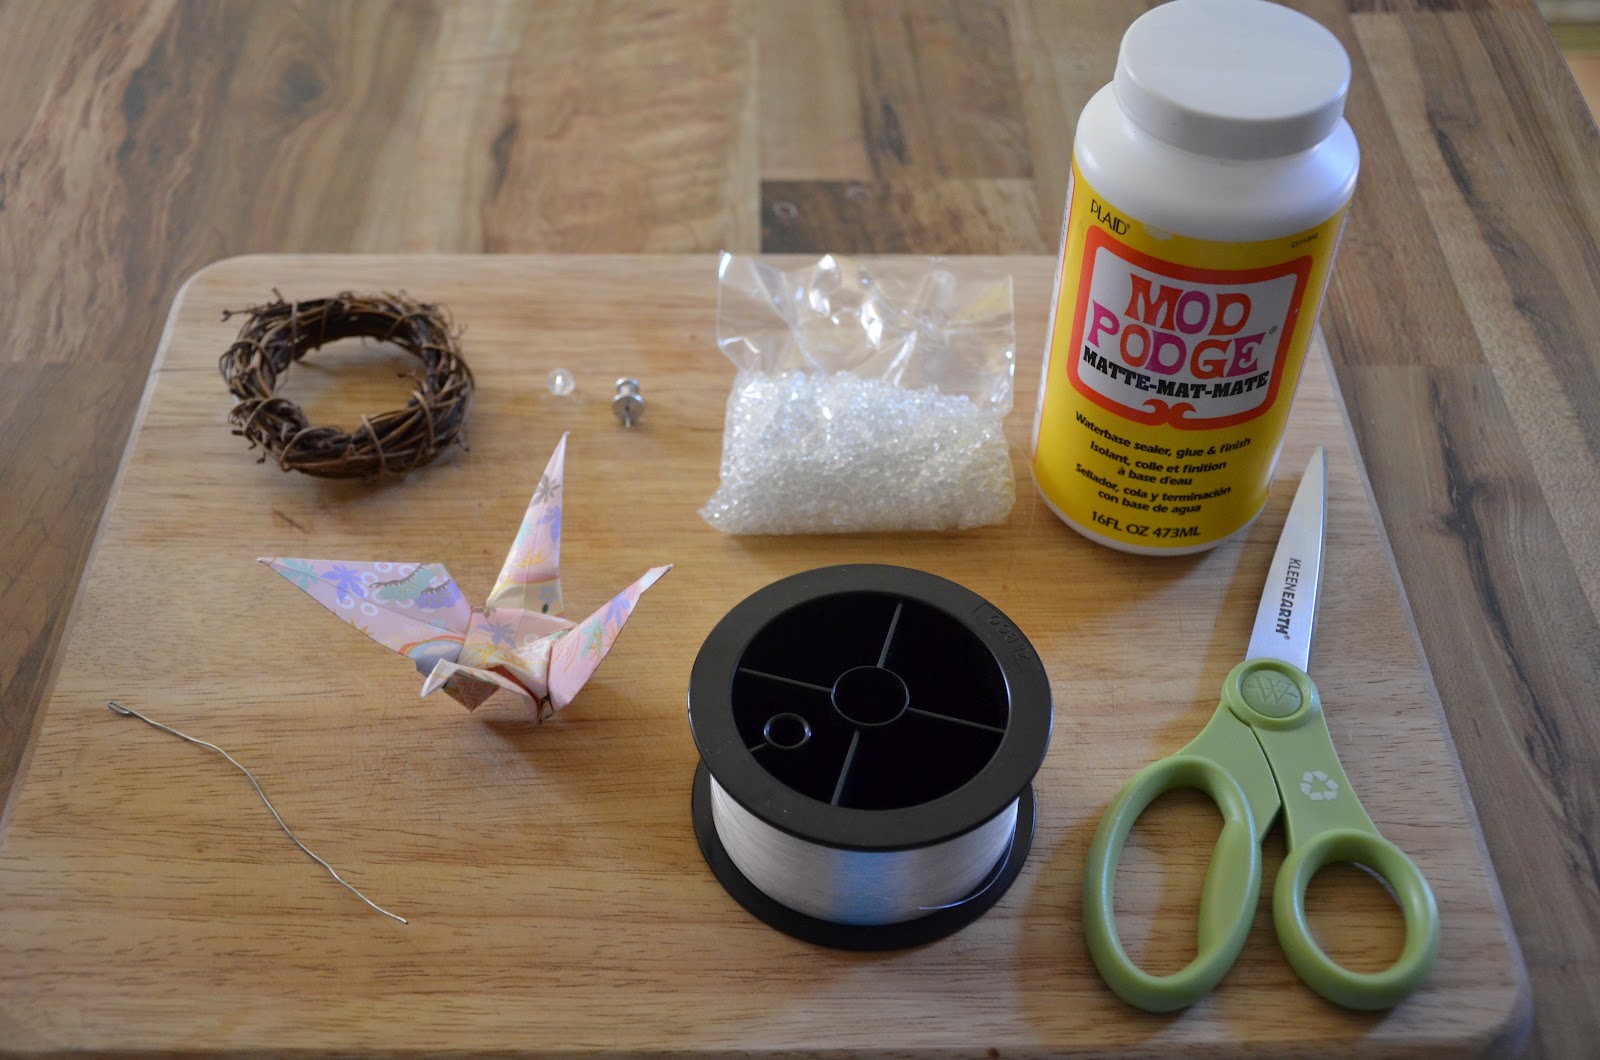
- Plenty of paper cranes (see tutorial)
- Wreath (Hobby Lobby has plenty of sizes this one came in a six pack for $2.99)
- Fishing line (This roll was under $3 at Wal Mart)
- Beads
- One large bead
- Scissors
- Glue
- Push pin
- Tool I made out of an old spiral notebook
- The tool is shown on the bottom left side. I unraveled a portion of the spiral on a spiral notebook, cut it off, then made a small loop on one side to thread the fishing line through the cranes. If you think of a more efficient way please comment.
How to Create:

1. Cut two equal in size strings to hang the mobile from
2. Tie each ends of the strings to the wreath one end across from the other - In this picture I am holding one string tied on each end to the wreath

3. Now I have attached both strings to the wreath

4. Cut three more equal pieces and string them through the large beads with the small beads on both sides to help stabilize


5. Tie a couple of knots above the beads so that they don't fall off
6. Place to the side

7. Cut a new piece of long string you will be placing the cranes on
8. Securely tie a small bead to the end of the string

9. Take push pin and make a small hole on the top of the crane

10. Make another hole on the bottom of the crane

11. Pull the tool through the holes you made in the crane

12. Place the string in the hole on the tool
13. Pull the tool through the crane, threading the string through the crane (Be very careful not to make the holes to big)

14. String another bead on the top of the crane to cover the hole

15. Attach the end of the string to the wreath
16. I like to put a small amount of glue on each knot after it's done
17. Hang until glue dries
18. Cut off all extra string
*Attaching more then one bird to each line looks really nice just tie another bead on the string where you want the next crane to hang.
Enjoy!
Friday, August 3, 2012
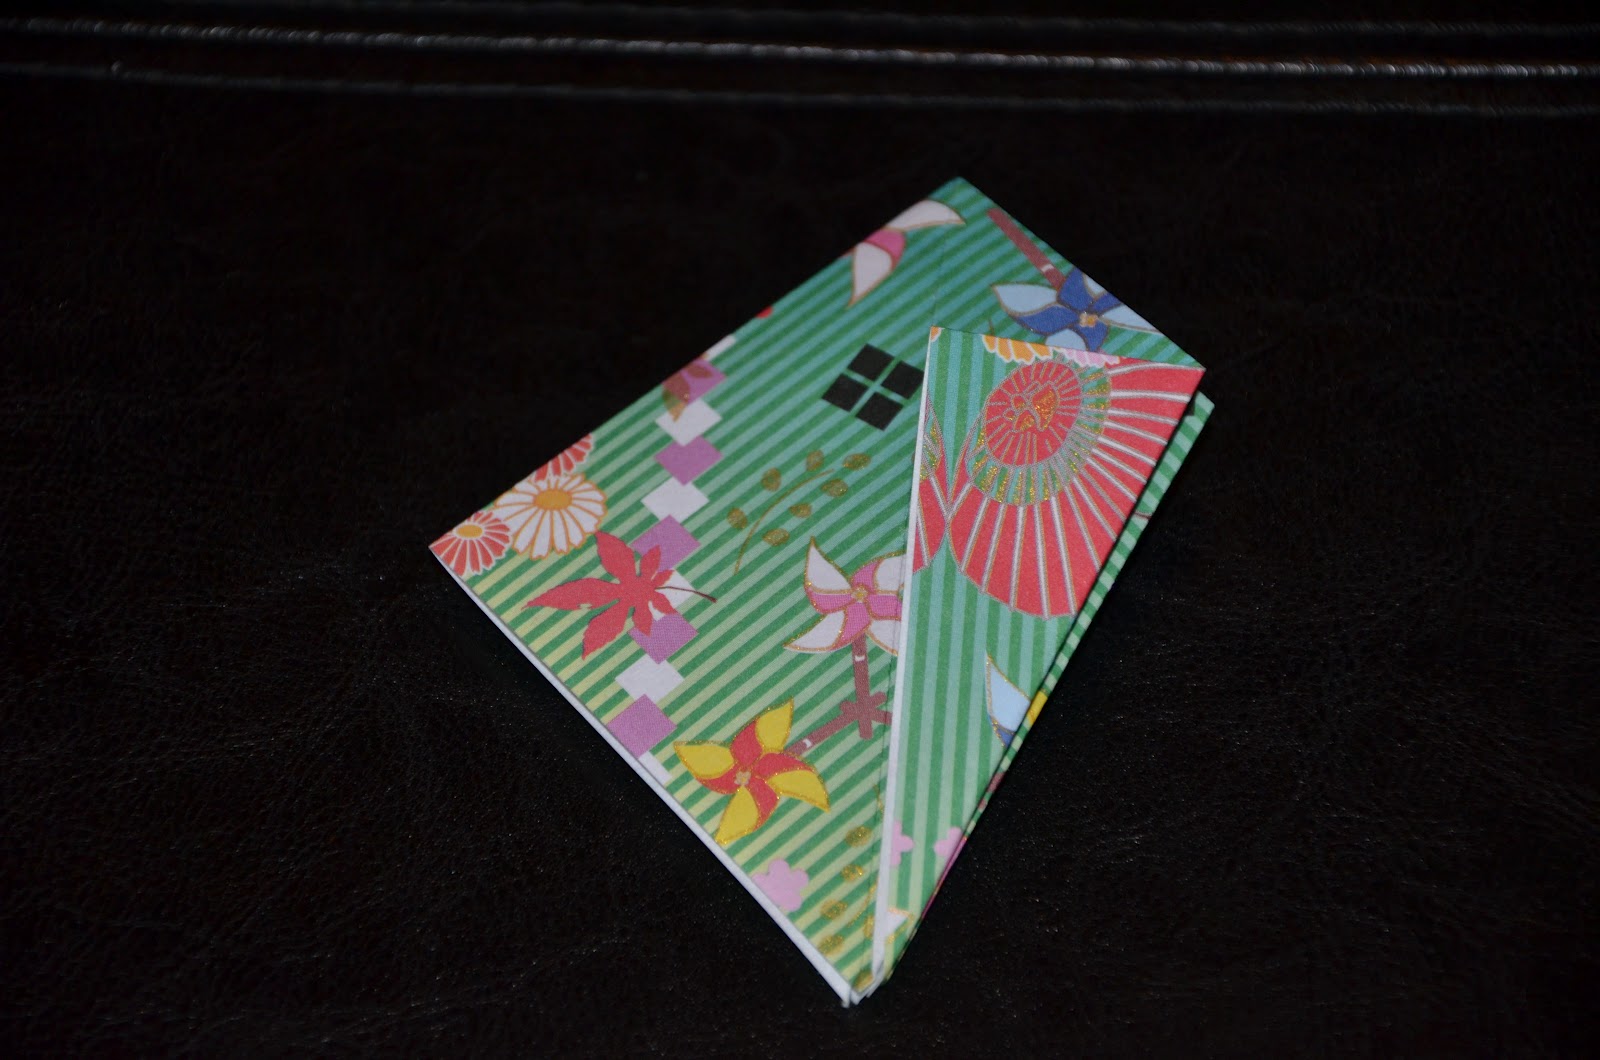
Paper Crane
Paper Crane

How to Fold a Paper Crane:
(Make sure that the paper you are using is cut into a square and you make a extremely defined crease on all of your folds)

Start with printed side of paper facing down
 Fold in half diagonally  |
| Fold the triangle in half bringing far corners together Turn triangle so that point that is facing down faces up (not shown)  
Fold open one side of triangle
|


Turn over

Folder over other side of triangle


Fold side corner to center

Fold opposite corner to center

Flip it over
Fold the side corners to the center


Fold down top corner

Turn over and fold top corner the opposite way

Let folds undo

Lift one side of the bottom corner
Lift it all the way to top


Turn over

Repeat what you did on the other side

Fold over top side corner to center


Fold over the other side corner to the center

Turn over

Fold in the side corners of this side

Turn to the side

Open up slightly

Fold up the bottom corner (this will be a head or tail)

Turn over

Fold up other side (this will be the head or tail)

Pull one of the top flaps to the side to become a wing

Pull the other top flap down to become the other wing

Choose what side you want to be the head and fold down
Enjoy your beautiful paper crane
Subscribe to:
Posts (Atom)